


Removing old tile grout is a simple home improvement task that can completely refresh the look of your tiles. Whether your grout is cracked, discolored, or affected by mold, replacing it can make your space look clean and new again—all in just a couple of hours.
Project Overview
- Total Time: 1–2 hours
- Skill Level: Beginner
- Estimated Cost: $60–$150
- Coverage: Around 15 square feet
With the right tools, especially a multi-tool, grout removal becomes faster, cleaner, and much easier.
Why You Might Need to Remove Tile Grout
There are several common reasons homeowners decide to remove grout :-
- Mold or mildew buildup: Old grout can trap moisture and become impossible to clean.
- Outdated appearance: Changing grout color can dramatically update the look of tiles.
- Cracked or missing grout: Damaged grout weakens tile stability and looks messy.
- Tile surface cleanup: Hardened grout left on tile faces from poor installation needs removal.
In many cases, removing and replacing grout is more effective than trying to repair small sections.
Tools and Materials You’ll Need
Tools
- Safety goggles
- Oscillating multi-tool with grout removal blade
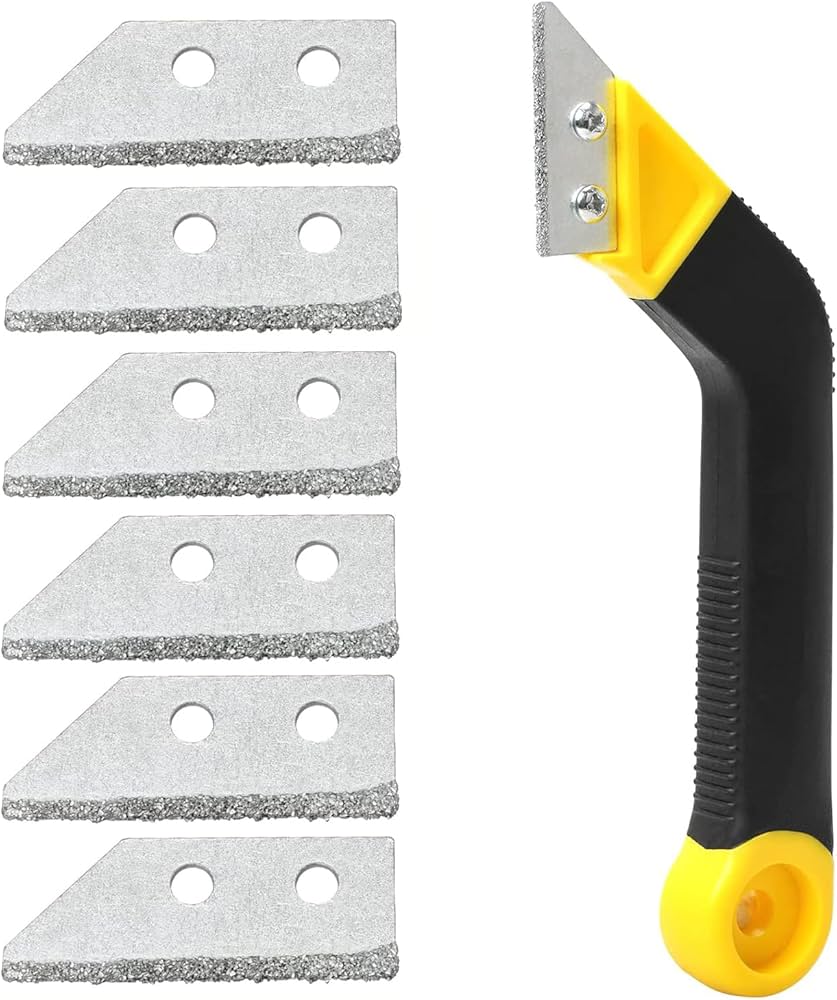
- Carbide-tip grout removal tool
- Utility knife (use a dull blade)
- Shop vacuum
Materials
- Garbage bag
Step-by-Step: How to Remove Grout From Tile Seams

1. Grind the Grout Straight On
Wear safety goggles before starting. Hold the oscillating tool straight against the grout line and gently turn it on. Let the tool do the work—do not apply excessive pressure.
Remove larger grout chunks by hand and place them in a garbage bag. Fine dust and debris can be cleaned later.
Tip: Grout is softer than tile, but pressing too hard can still chip tile edges. Move slowly and stay focused.
2. Grind the Grout at an Angle
After removing most of the grout straight on, angle the blade slightly to clean out deeper sections. Work patiently and avoid digging into tile edges.
To reduce fatigue, rest your arm on a stable surface or support the tool with both hands.
3. Scrape With a Carbide-Tip Tool
Use a carbide-tip grout removal tool to scrape out stubborn grout pieces that the power tool loosened but didn’t remove.
Do not force the tool against tile edges—this can cause chipping. Your goal is to loosen remaining grout, not remove every last grain.
4. Clean Remaining Grout With a Dull Utility Knife
For small bits that remain, switch to a dull utility knife. A dull blade reduces the risk of snapping or injury and works well for fine cleanup.
5. Vacuum as You Work
Use a shop vacuum frequently to clear out dust and debris from grout lines. This helps you see progress clearly and keeps your workspace clean. Finish with a final vacuum pass once all grout is removed.
How to Remove Dried Grout From Tile Surfaces
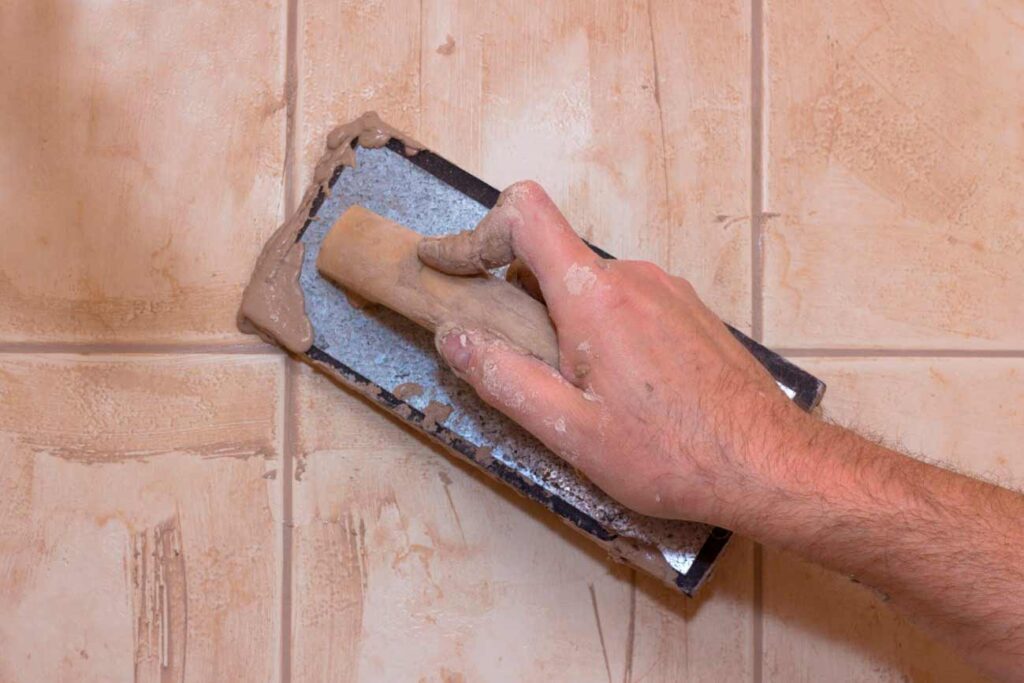
If grout has dried on the surface of tiles:
Use a Plastic Scraper
Hold a plastic scraper flat against the tile and gently push forward to dislodge grout. Avoid metal scrapers, as they can scratch tiles.
Alternative: An old credit card works well if a scraper isn’t available.
Scrape in Short Strokes
Short, controlled strokes reduce the risk of scratching tiles with loose grout particles. Wipe debris frequently.
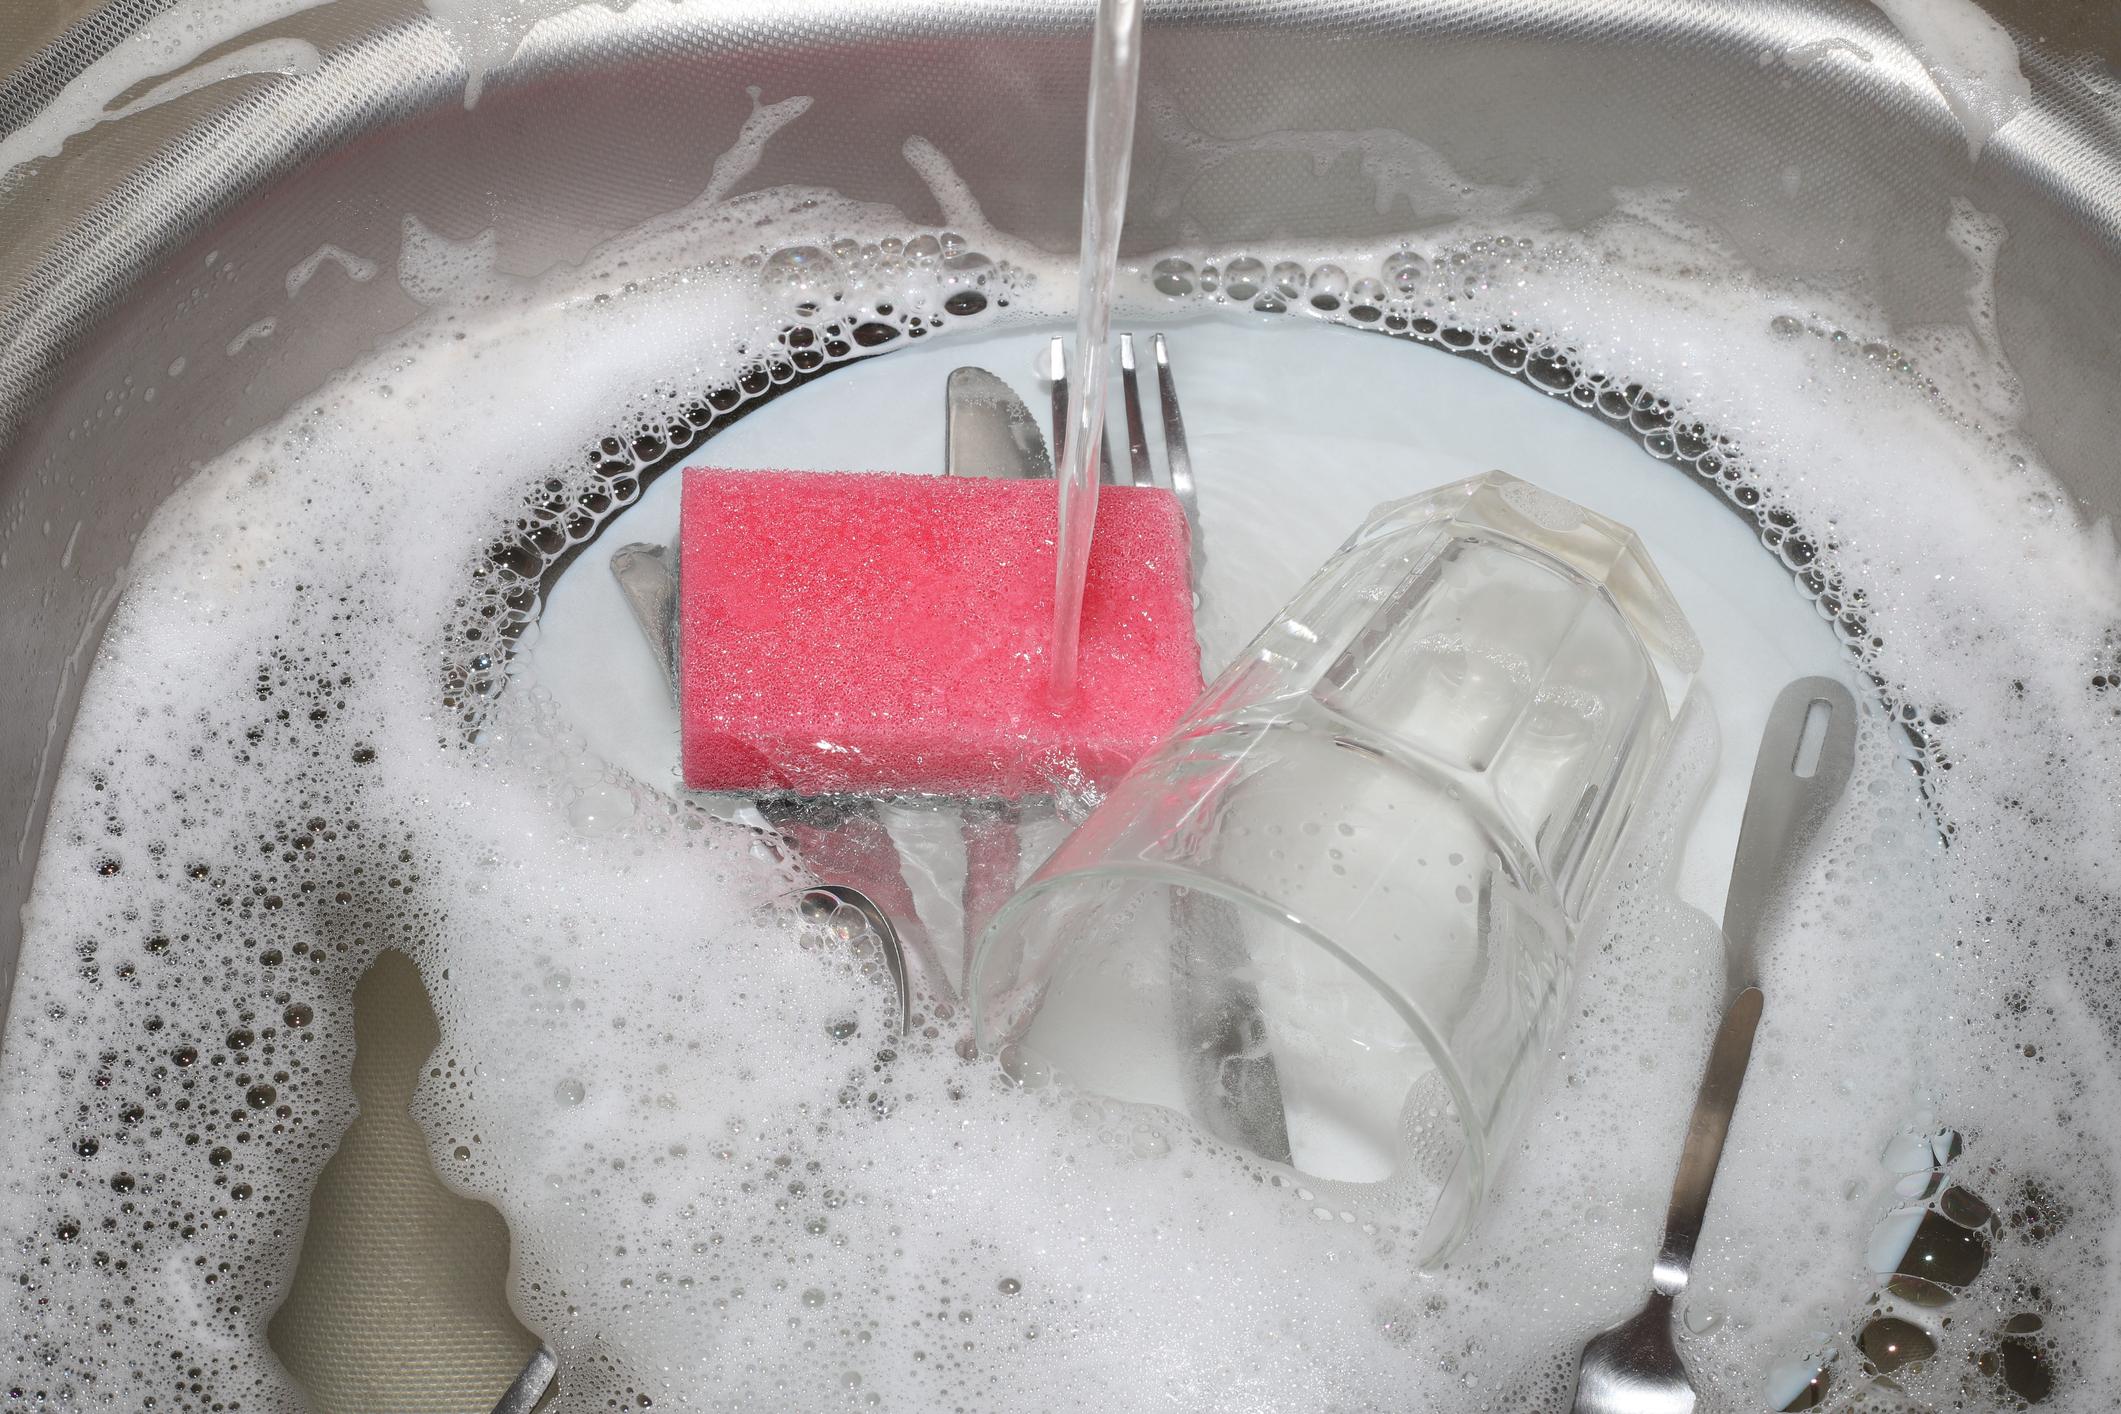
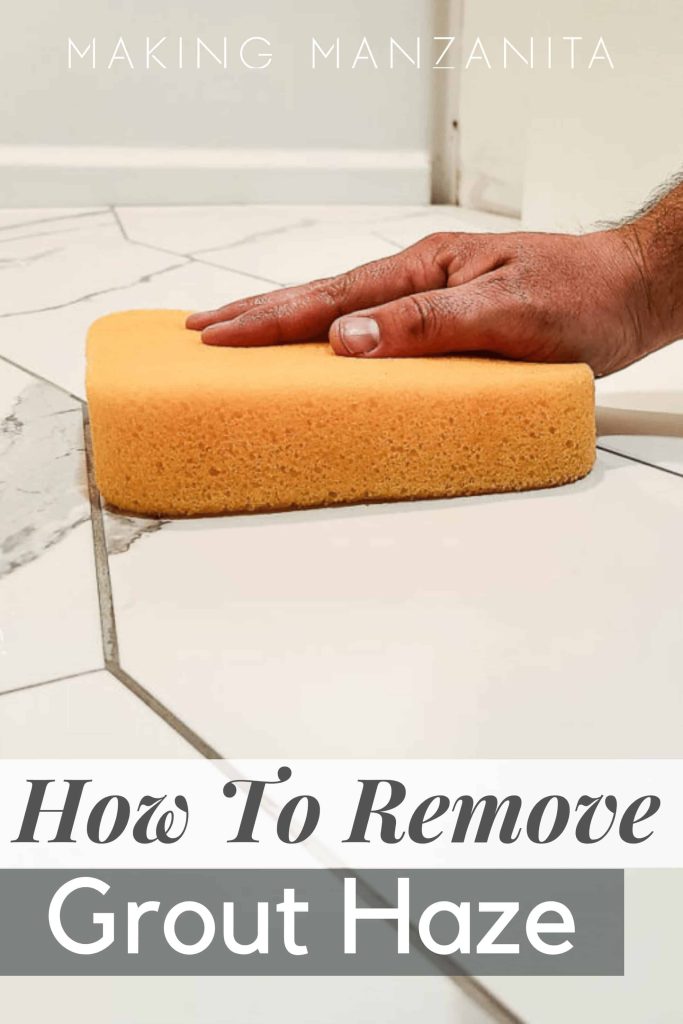
Wipe With a Wet Sponge
Soak a sponge in warm water and wipe the tile surface. After drying, inspect and repeat scraping if needed.
Helpful Tips and Troubleshooting
- Always use a blade designed specifically for grout or masonry.
- Protect delicate tiles with painter’s tape along grout lines.
- Removing grout to a depth of about 1/8 inch is usually enough for regrouting.
- For battery-powered tools, lightly mist the surface to reduce dust.
- Use a shop vacuum with a HEPA filter to control fine dust indoors.
Frequently Asked Questions
Using a grout removal tool or oscillating multi-tool with a grout blade is the easiest and fastest method.
Yes. Warm water, vinegar, sugar water, or lemon juice can soften grout. Avoid acidic solutions on stone tiles.
Yes, but it requires more effort. Gentle scraping or grout removal solutions work best.
No. As long as the grout is removed to a consistent depth, new grout will bond properly.
Final Thoughts
Removing tile grout may look intimidating, but it’s a beginner-friendly task with big visual rewards. Take your time, use the right tools, and work carefully—your tiles will look refreshed and ready for new grout in no time.